Recreating a 1920-era Circus Concessions Tent
About the Project
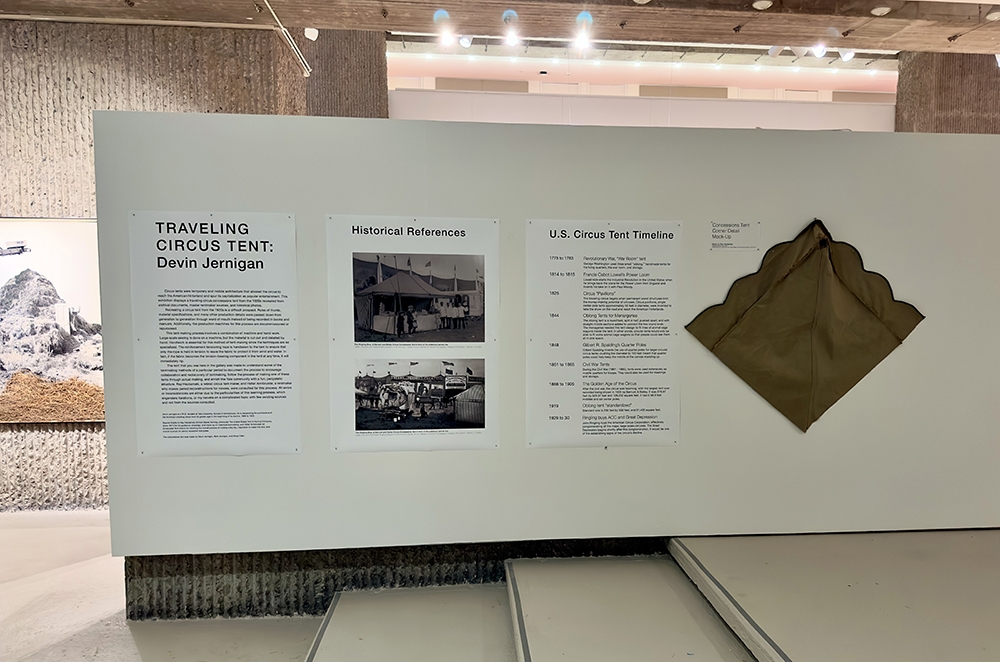
This exhibition displays the historical context and production process of a concessions tent from 1920. It also shows a recreation tent that was made using this research. The methods used to make the tent have already been lost or are at risk of being lost. Interviews with a retired tentmaker, an obscure reference book, historical photos, and architectural "reverse engineering" were utilized to fill the gaps in the making process.
Recreating a circus tent from before World War II is a challenging prospect. Rules of thumb, material specifications, and many other production details were passed down from generation to generation through word of mouth instead of being recorded in books and journals. Additionally, the production machines for this process are decommissioned or repurposed.
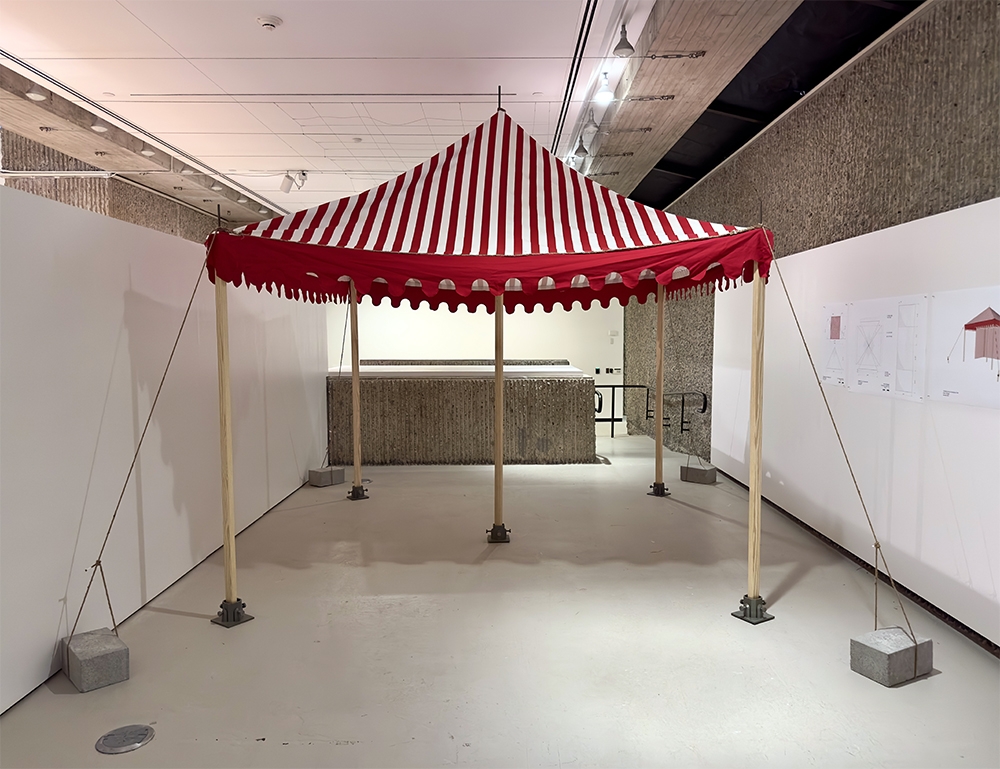
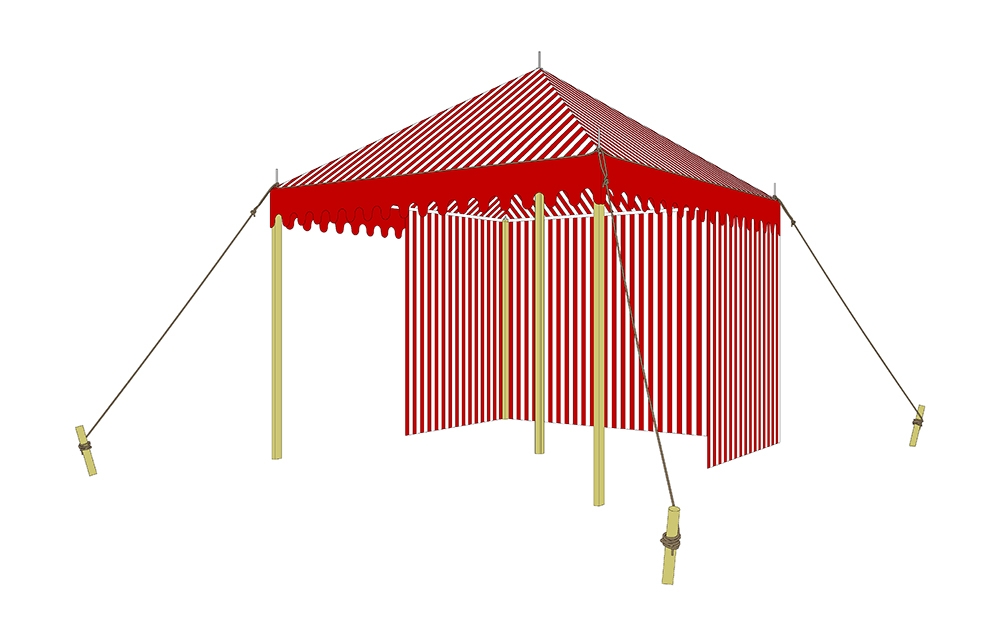
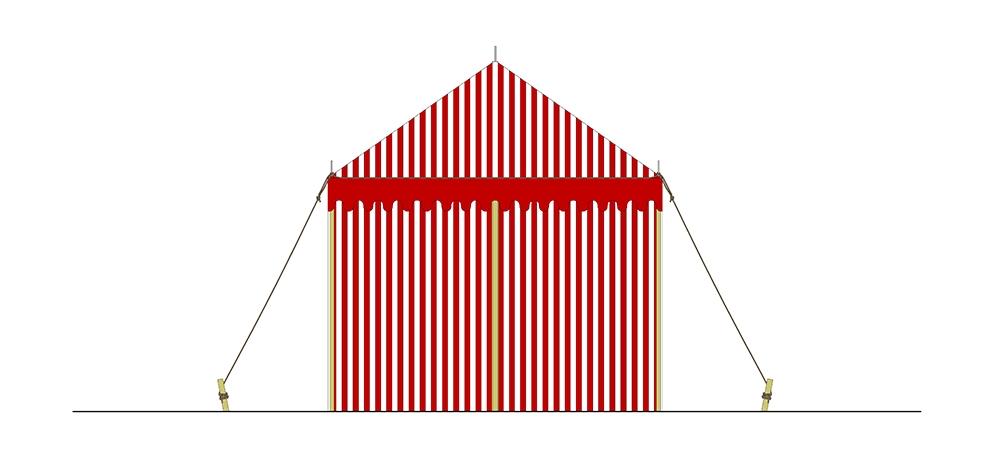
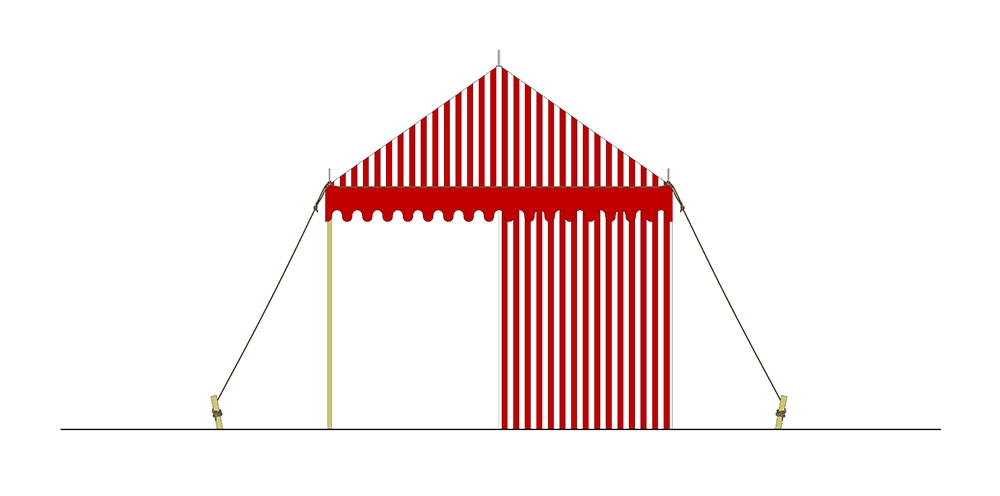
The historical tent's design was modified to fit the constraints of the exhibition space and budget. The historical tent was approximately 10 feet by 15 feet. This tent had an additional rope to support the eave edge on the longer sides. The tent for the exhibition is 10 feet by 10 feet and does not have this additional support rope since the long side has been reduced to the point that it no longer needs this rope. The tent for the exhibition was also only able to have four perimeter poles and one center pole due to budgetary constraints.
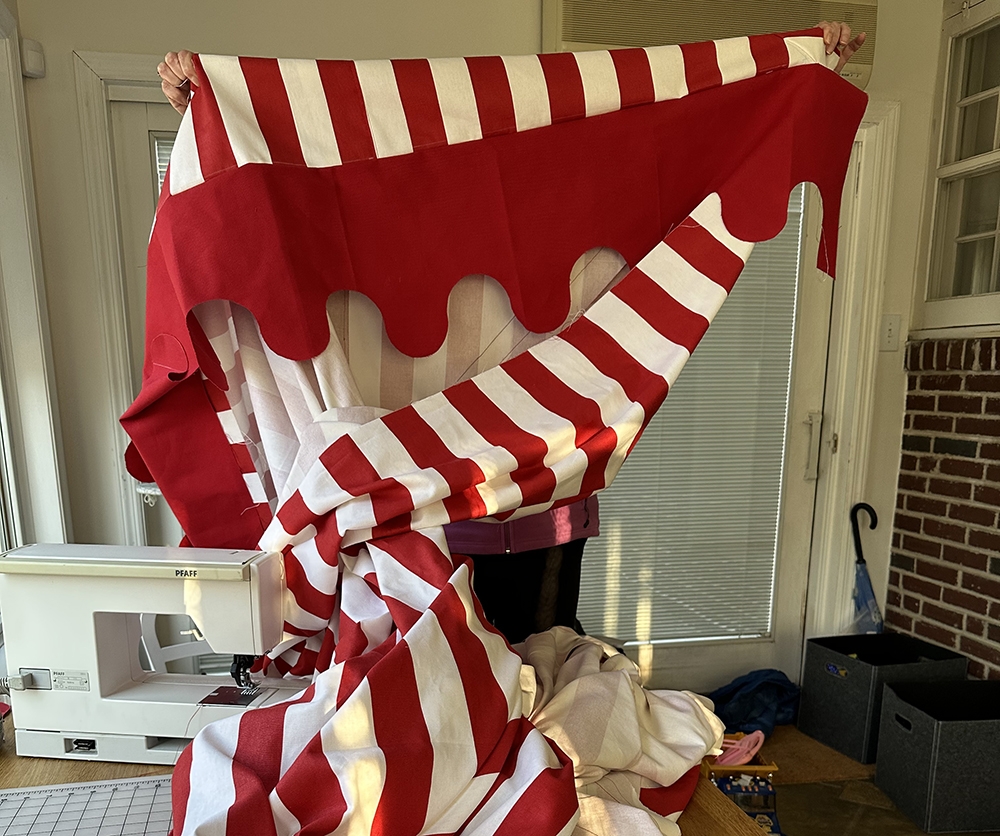
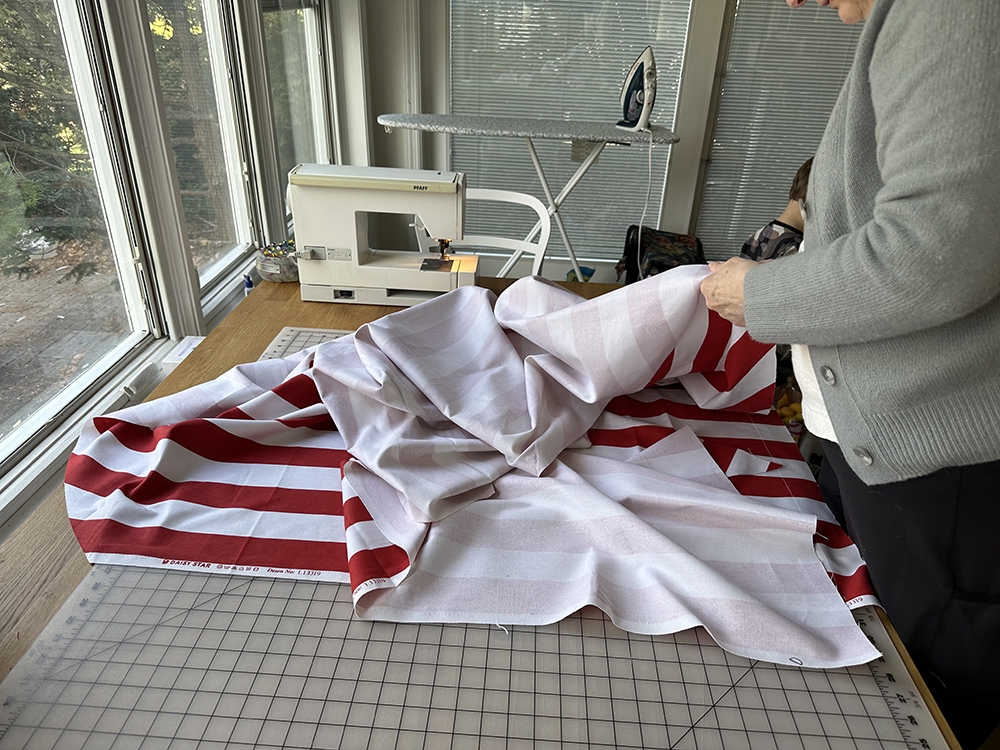
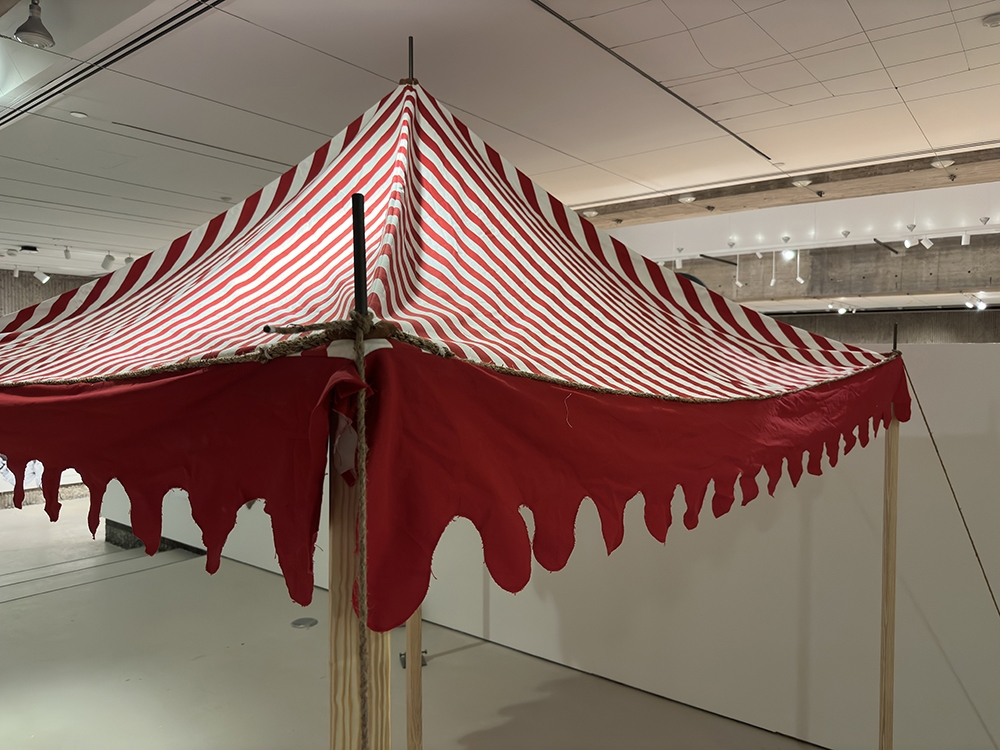
This particular tent-making process involves a combination of machine and hand work. Large-scale sewing is done on a machine, but the material is cut out and detailed by hand. The hand work is essential for this method of tent-making. For instance, the reinforcement tensioning rope is hand-sewn to the tent to ensure that only the rope is in tension to protect the fabric from wind and water. If the fabric becomes the tension-bearing component in the tent at any time, it will immediately rip.
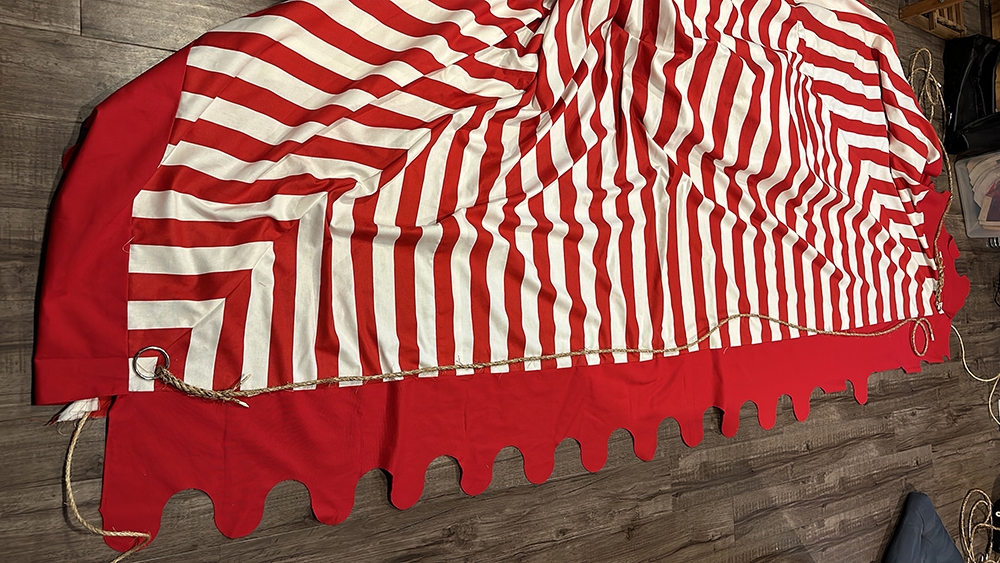
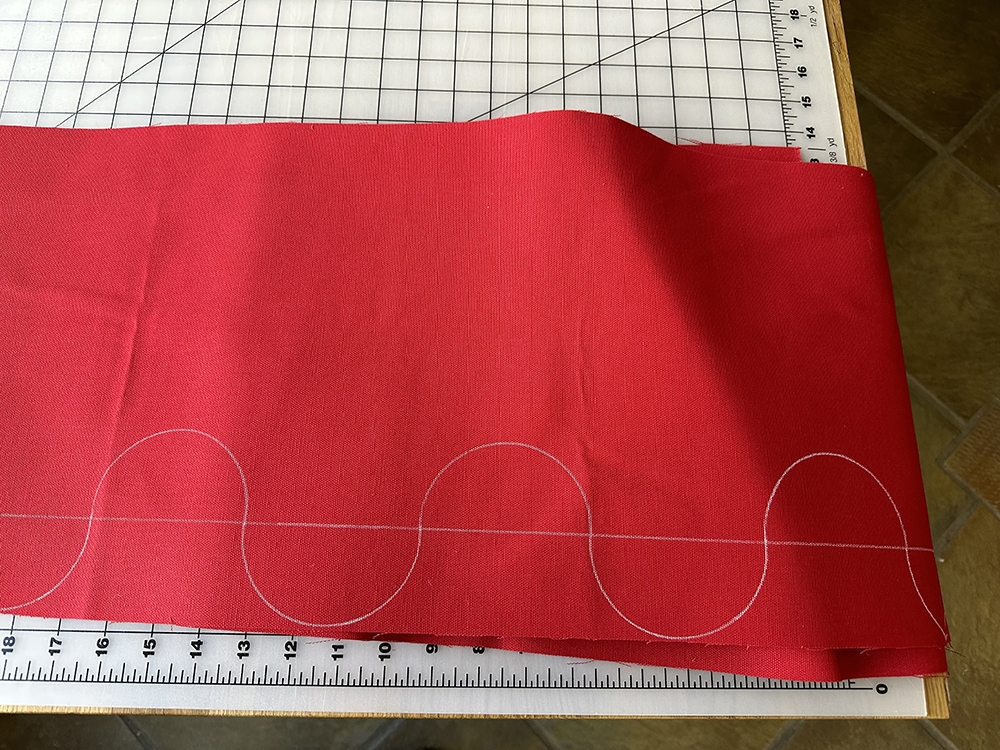
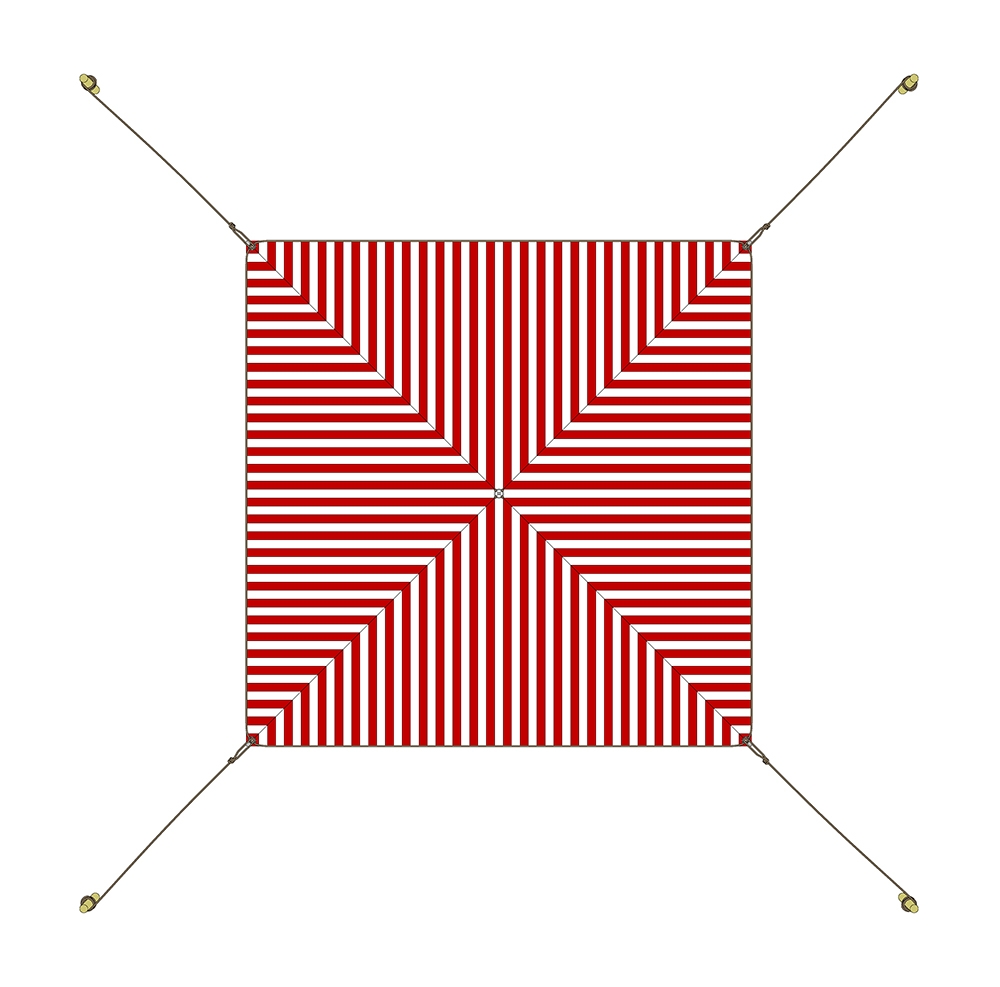
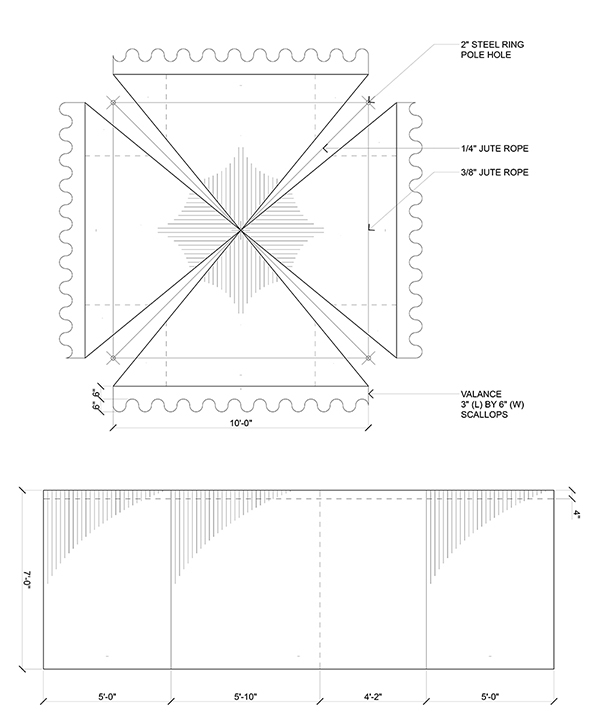
Precise cutting patterns were made to maximize the fabric and ensure that the stripes lined up and were in the correct direction. Additionally, each seam required a small amount of fabric to ensure a strong connection. The seams running along the four ridges also have an inside pocket, which a support rope runs through to add tension support to the tent.
Through interviews with Ray Hautamaki, a retired circus tent maker, I learned how canvas tents were made in the 1960s. He also helped me to understand how a small tent would have been made in the 1920s. Finally, he made a mock-up of the detailing at the corner eave of the tent, which is by far the most tricky spot.
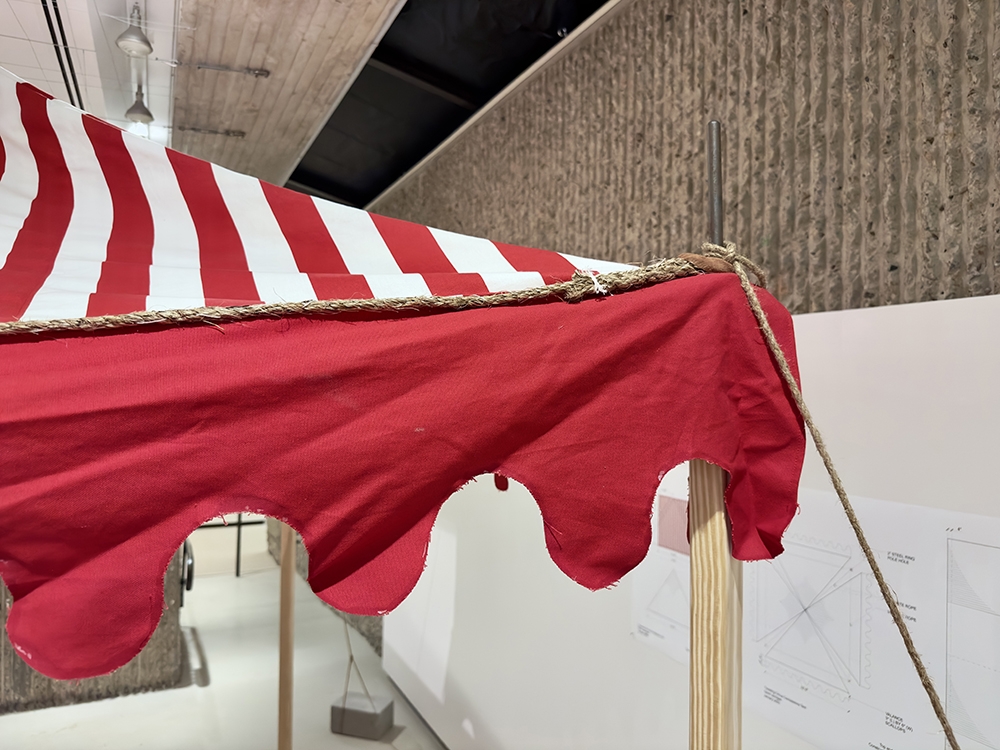
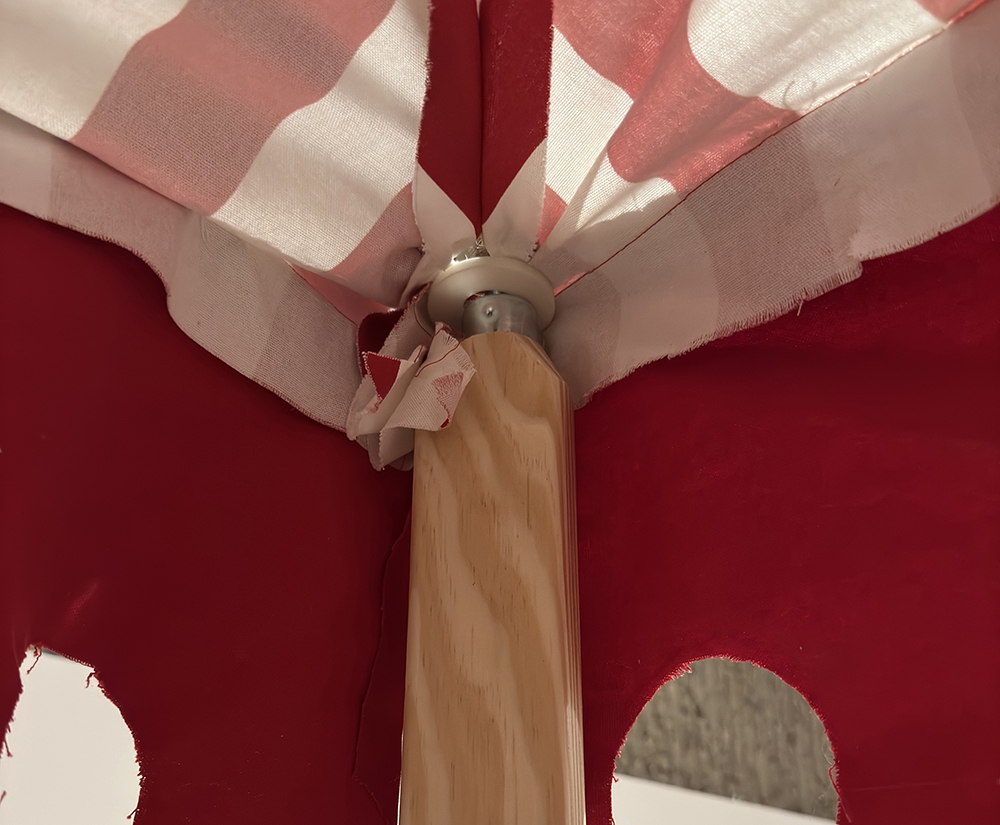
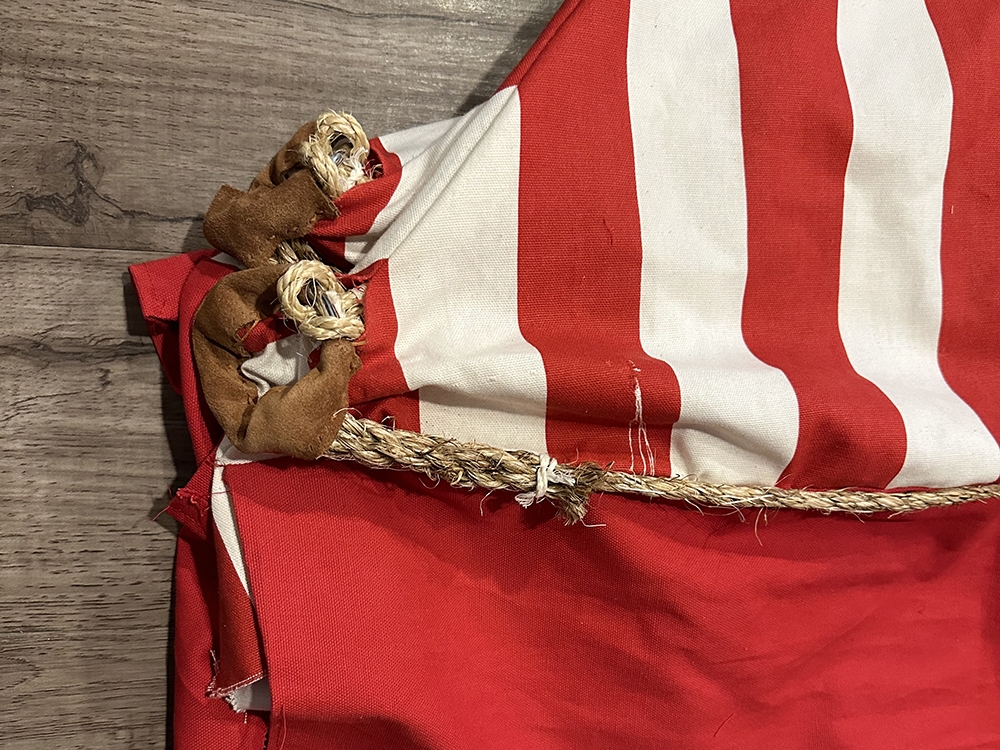
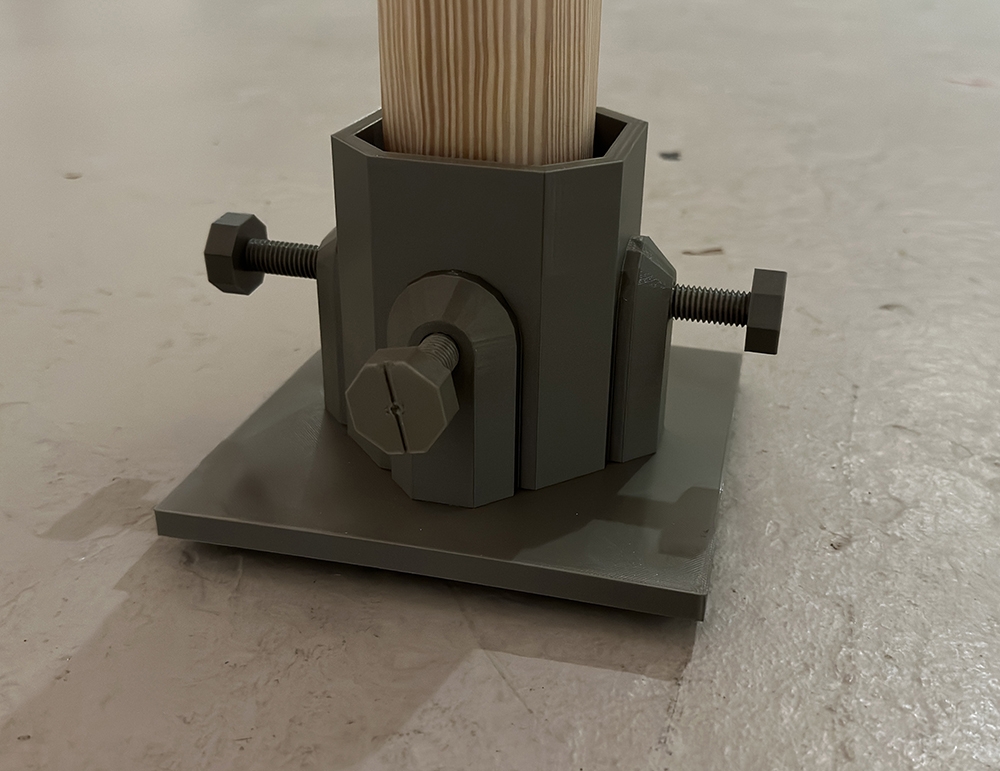
This next series of images are close-up details of the tent. These show how the rope was hand-sewn to the canvas and finished at the corner holes. The holes are made of a steel ring with all manila rope end-spliced. This was then covered in suede leather and hand-sewn to finish the holes. The tent poles can then slot into this hole. When the tent is pulled tight, the tension will be pulled from pole to pole by the ropes and then go down to the ground with the guy-rope tie-downs. 3D printer stabilizer feet were designed for the tent to be set up indoors on firm ground.
This exhibition was held from January 16th to February 17th, 2023 at the Yale University School of Architecture, North Gallery. Support provided by Yale University, Yale SoA, Archives of The John and Mable Ringling Museum of Art, and Ray Hautamaki.
Exhibition and Tent Overview
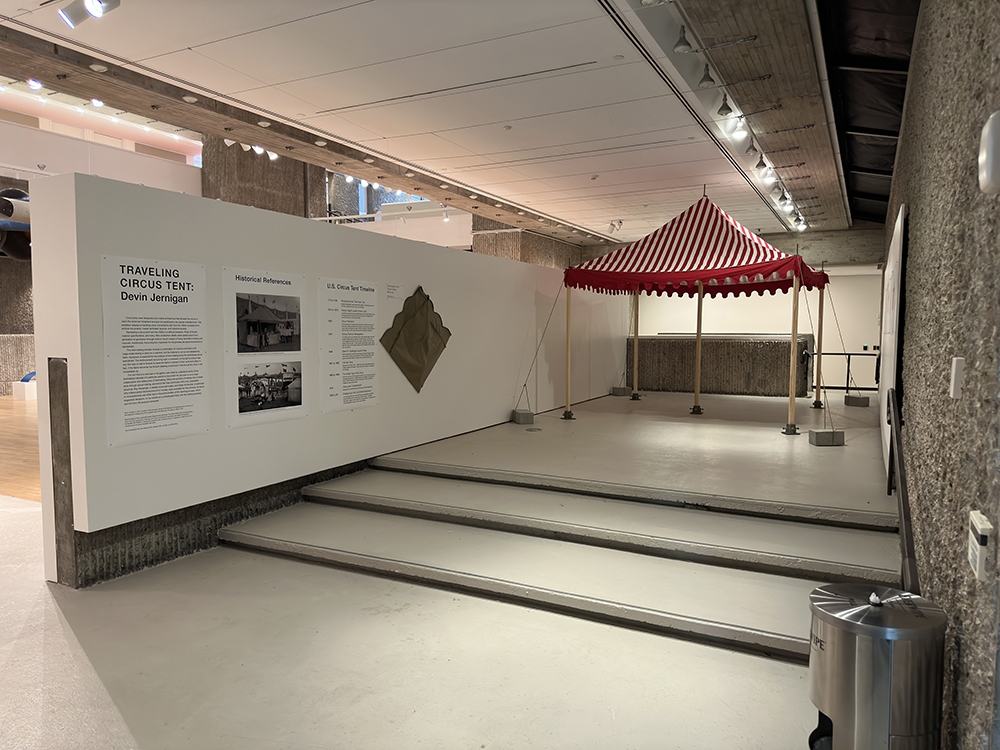

Exhibition Walkthrough
Photographic Reference of the Tent
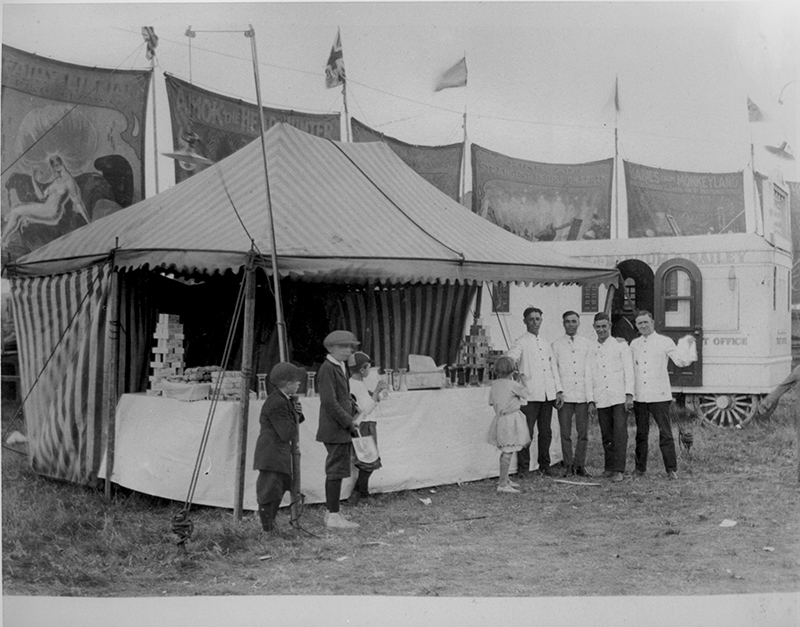
Image Credit: Archives of The John and Mable Ringling Museum of Art — Tibbals Circus Collection
Drawings
Fabric Layout Drawings

Tent Details
Tentmaking Process Images